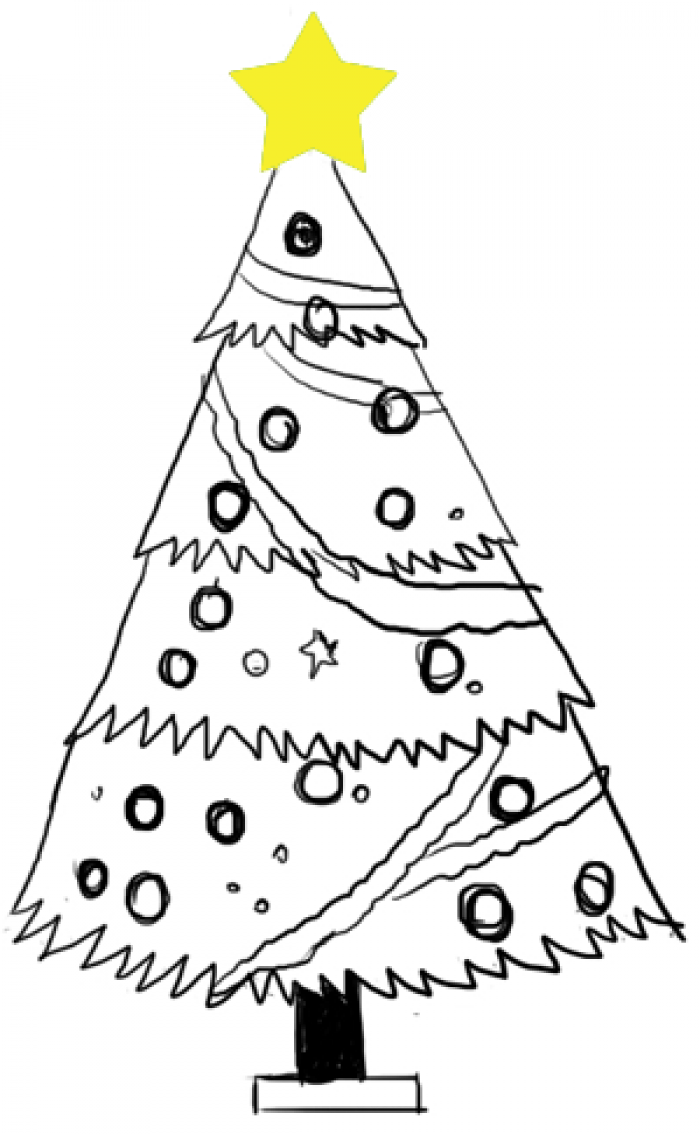
I have carefully selected several schemes for drawing a Christmas tree various levels of difficulty. Choose the one you like best.
One of the schemes is in this video!
Method 1
Although the method is the most difficult, but such Christmas tree pretty cute. And considering that all kinds of gifts are conveniently arranged under it, it is generally wonderful. This diagram demonstrates how to draw such a Christmas tree step by step.
Method 2
And this is real forest beauty, magnificent, luxurious and so beautiful! I hope the circuit is not too complicated for you.

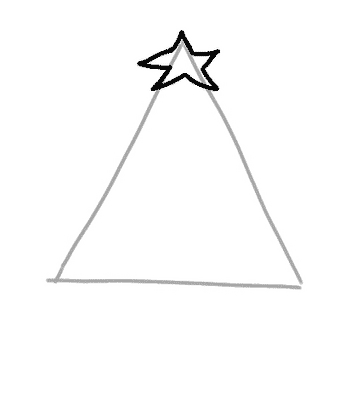
Method 3
Here is another Christmas tree big asterisk. Don't forget about her either. This decoration has already become traditional!


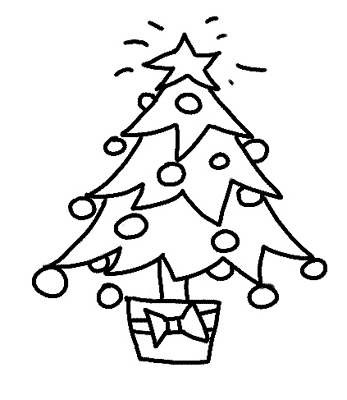
Method 4
This diagram shows in great detail the process of creating a small New Year's masterpiece. First you need to draw a triangle, and on its top a beautiful star.


The tree has to hold on somehow. I suggest putting it in a bucket.

It remains to add some decorations, toys, bows and, of course, color. Color the tree carefully. That's all!

Method 5
This tree is based on a large triangle. Attached to it stand, branches, decorations.

Method 6
Another good scheme and again with gifts=)

Method 7
And this one is not bad, slender, lush, easy to perform. But the choice is yours!)

Method 8
The last diagram will help you learn how to draw a Christmas tree in most naturalistic.

With Christmas trees, it seems, we figured it out. If you don't really love draw, you can from paper, cardboard or fabric. Interesting Tips how to do this you will find in .
The furry beauty tree is a real decoration - winters and main character, so it is often found in children's drawings. And since it's easy to draw a Christmas tree,
if you build the work in stages, then it will be useful for everyone to learn the basic principles of drawing it.
How to draw a Christmas tree in stages with a pencil
Before you draw a Christmas tree, you need to mark the sheet with a pencil, marking on it vertical line, running approximately in the center, and on it - transverse stripes: one - approximately in the center of the sheet, the other two - below it (at a distance of about one-fifth and two-fifths from the bottom edge). On the top of the vertical strip, you can immediately mark the top of the future spruce.

Focusing on these stripes, we draw a contour. We choose the simplest option - voluminous fluffy paws with a wavy bottom edge.

After that, we decorate our Christmas tree - we hang toy balls on its branches, and decorate the top with a five-pointed star. We put a traditional one under the tree.

Often the work is done - we learned how to draw a Christmas tree in stages with a pencil. Now we begin to fill our picture with color. First, cover the entire sheet with a layer of translucent blue watercolor.

When the paint dries, we arm ourselves with green watercolor pencils and begin to paint the needles. We make some of them lighter, and some more dark shade. light tone distribute closer to the edge spruce paws, dark - to their tops.

red watercolor pencil color the Christmas balls, leaving their center unpainted.

Now we cover the unpainted middle with lighter pencil strokes.

We make an asterisk bright yellow, gifts - blue. We do not color ribbons on gifts.

We take some gold paint and cover the edges of the star with it.


We arm ourselves with green gouache and begin to cover these contours with it - like spruce branches with needles.

First, we cover the entire contour with gouache of a light green hue.

And then we highlight the lower edge of the spruce paws with dark green gouache.

Overlay dark paint strokes to get the feeling that needles are growing on the branches. For the top edge of the branches, use a shade slightly lighter than the one used for the bottom edge.

So gradually paint the entire Christmas tree.

Armed with yellow gouache.

And we draw a bright garland on spruce branches.

We complement the decoration of our Christmas tree with colorful ones.

And with splashes of white gouache we draw snow around it.

From below, snowdrifts are denoted by sweeping long strokes.

This Christmas tree is also ready to go by mail to find its addressee!

Gouache drawing "herringbone"
Choosing suitable way drawing, pay attention to what colors the child likes more - if he likes to work with watercolors, take the first method, and if with gouache - the second.
If you ask any child which of the holidays is his favorite, then, no doubt, any kid will answer you: “This is - New Year!" New Year is one of the most famous and favorite holidays for both children and adults! We are all waiting for a miracle new year's eve, some kind of magic, we believe that everything will change. What about gifts? What could be more exciting than this? The New Year comes to us with snow, with cold weather, everywhere you can smell the smell of tangerines and Christmas tree needles. Today we will learn how to draw a mandatory attribute of this holiday - Christmas tree with gifts! Someone in the house puts live Christmas tree, spruce or pine. And someone, in order to save living trees, prefers artificial Christmas trees, which are currently very similar to natural ones. Drawing a Christmas tree is not at all difficult. Just follow our tips, carefully look at the pictures and get to work.
Stage 1. With the help of a ruler, we will draw auxiliary lines for our future Christmas tree. One vertical and two horizontal ones - shorter at the top, where the very top of the tree will be, and longer at the bottom, where its base will be.

Stage 2. Now let's start drawing the outline of our forest beauty. Slightly away from the top horizontal line, we begin to mark the branches of the Christmas tree on both sides of the vertical. We try to arrange them neatly, symmetrically, so that our Christmas tree is ultimately beautiful and fluffy. This will be like the back layer of branches.

Stage 3. Now we will draw the front layer of the Christmas tree paws. We place it ahead of the previous one. These branches, as it were, overlap the back layer of branches and make our Christmas tree even more fluffy and sprawling. Don't forget to mark the top of the tree by sharpening it along a vertical line.

Stage 4. We place on the branches of our Christmas tree Christmas decorations- balls of different sizes. Just draw circles of different diameters on the branches. It is necessary to arrange these toys throughout the Christmas tree evenly so that there is no empty lots and our Christmas tree was beautiful and smart. Below, under the tree, you need to draw gifts for the kids. Gifts are wrapped boxes with items in them. different items that children want to receive for the holiday. They are drawn like this. Mark a vertical line with a ruler and two oblique lines extending from it at a certain angle at the top. Then connect them together. It turns out the figure of a cube. On the sides of the sides of these cubes we draw lines of future bows with which the boxes are tied up.

Stage 5. Now at the top of our Christmas tree we draw a star. She is five-pointed. In order to draw it even, you can also use a ruler. The main stages of drawing a star have already been given. Below, we will draw a trunk of a Christmas tree, decorate it with a large bow. The bow consists of two identical parts, which we place symmetrically on both sides. We also decorate the upper faces of gift boxes with large tied bows like roses or flowers. We draw everything smooth lines. The edges of the bows descend onto the boxes.

Stage 6. Now you can shade the boxes a little, give them a certain flavor. We also designate stripes on the bow around the trunk.

Stage 7. Finally, let's start decorating the Christmas tree. Naturally, the Christmas tree is only green in different shades. The trunk is brown or grey. We make the balls on it multi-colored. The star can be red, yellow, blue. Gift boxes - according to your taste and desire. Look how beautiful christmas tree we got it! More like New Years!


